3. form a flat roof by gently tapping bottom of pinch pot onto board
4. insert two or three fingers inside of the pinch pot and repeat step 3 on each side of pot to create flat walls (you want to have roundish corners but flat sides)
5. flip pot over so opening is now the underneath
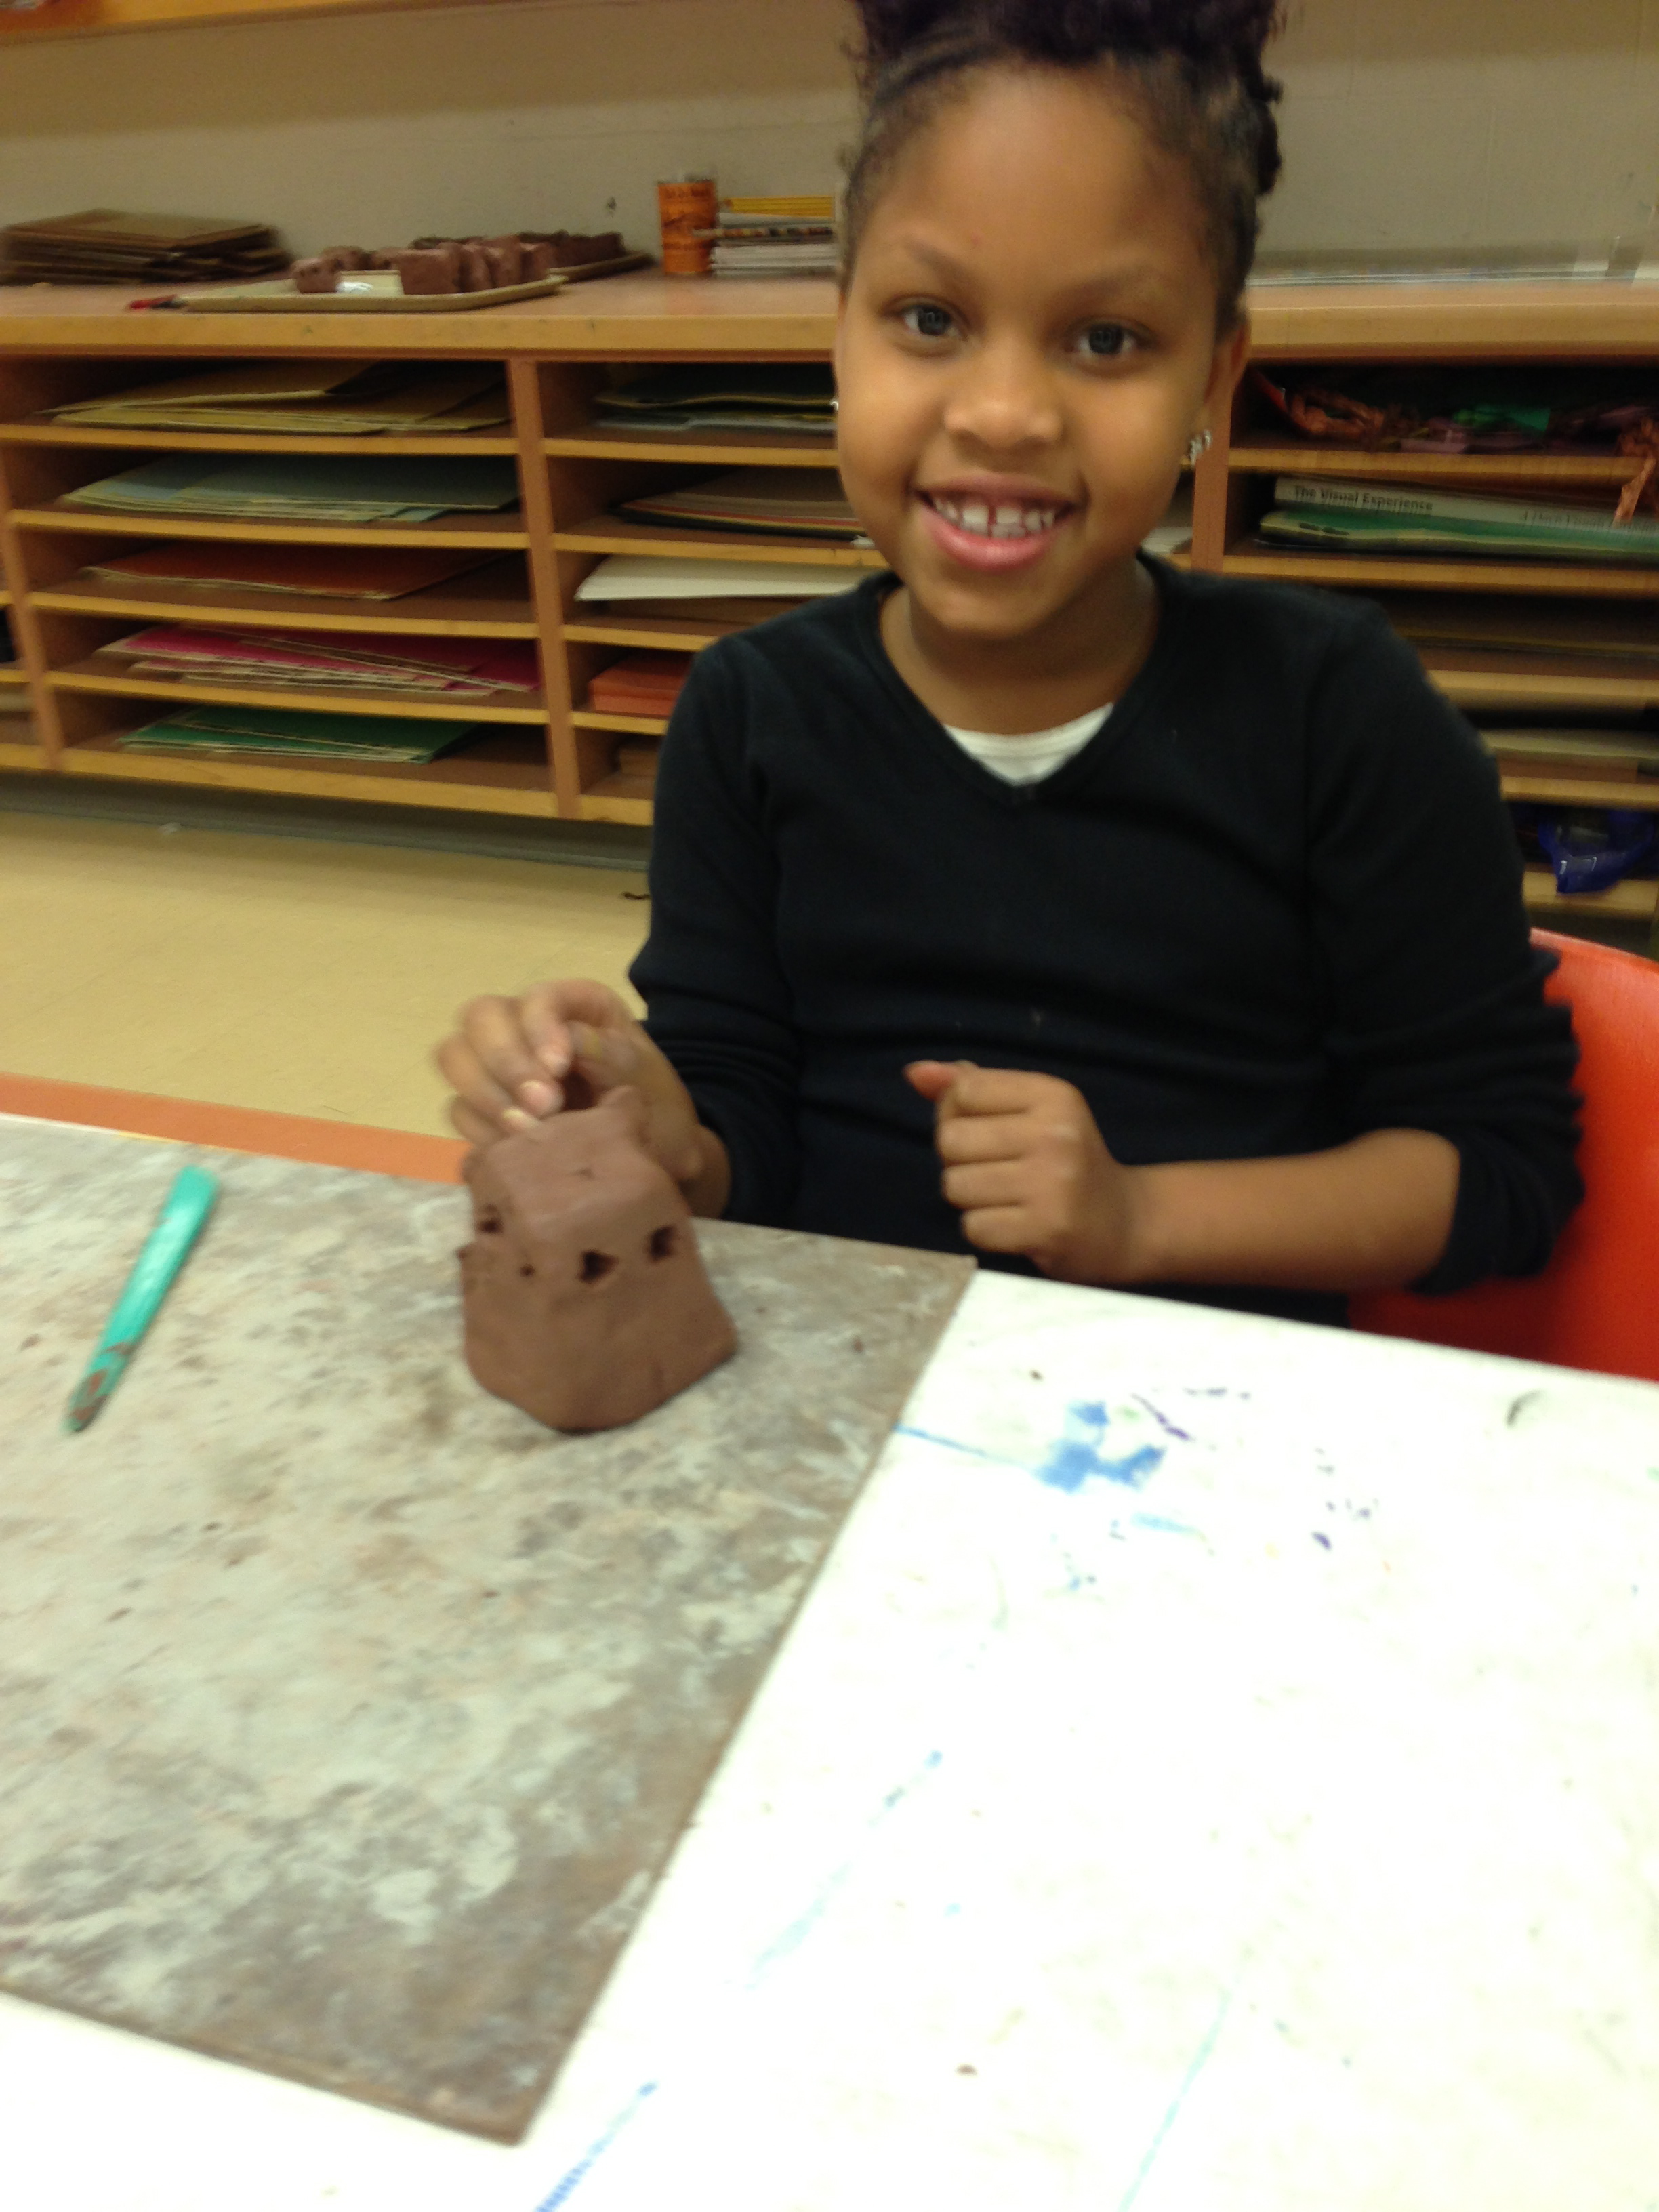
6. draw door with knife or clay tool and cut out
7. insert knife and gently turn wrist to create small circular windows in the walls
8. use extra clay to make any "wooden cross beams" for the roof. I use "scratch attach" system. scratch clay surface and piece you want to attach, add a little water, and stick on.
9. carve any details like a ladder, or designs around windows and doors.
Day 2
(if you are glazing or painting do so here. otherwise red clay does not need any surface decoration)
Day 3
(this will be day 2 if you don't glaze)
create ladders out of pipe cleaners
(not every house will need a ladder in the end)
1. give each child two brown pipe cleaners
2. cut 1st pipe cleaner in half
3. cut 2nd pipe cleaner in quarters
4. attach quarter pieces in between two long half pieces by wrapping ends around
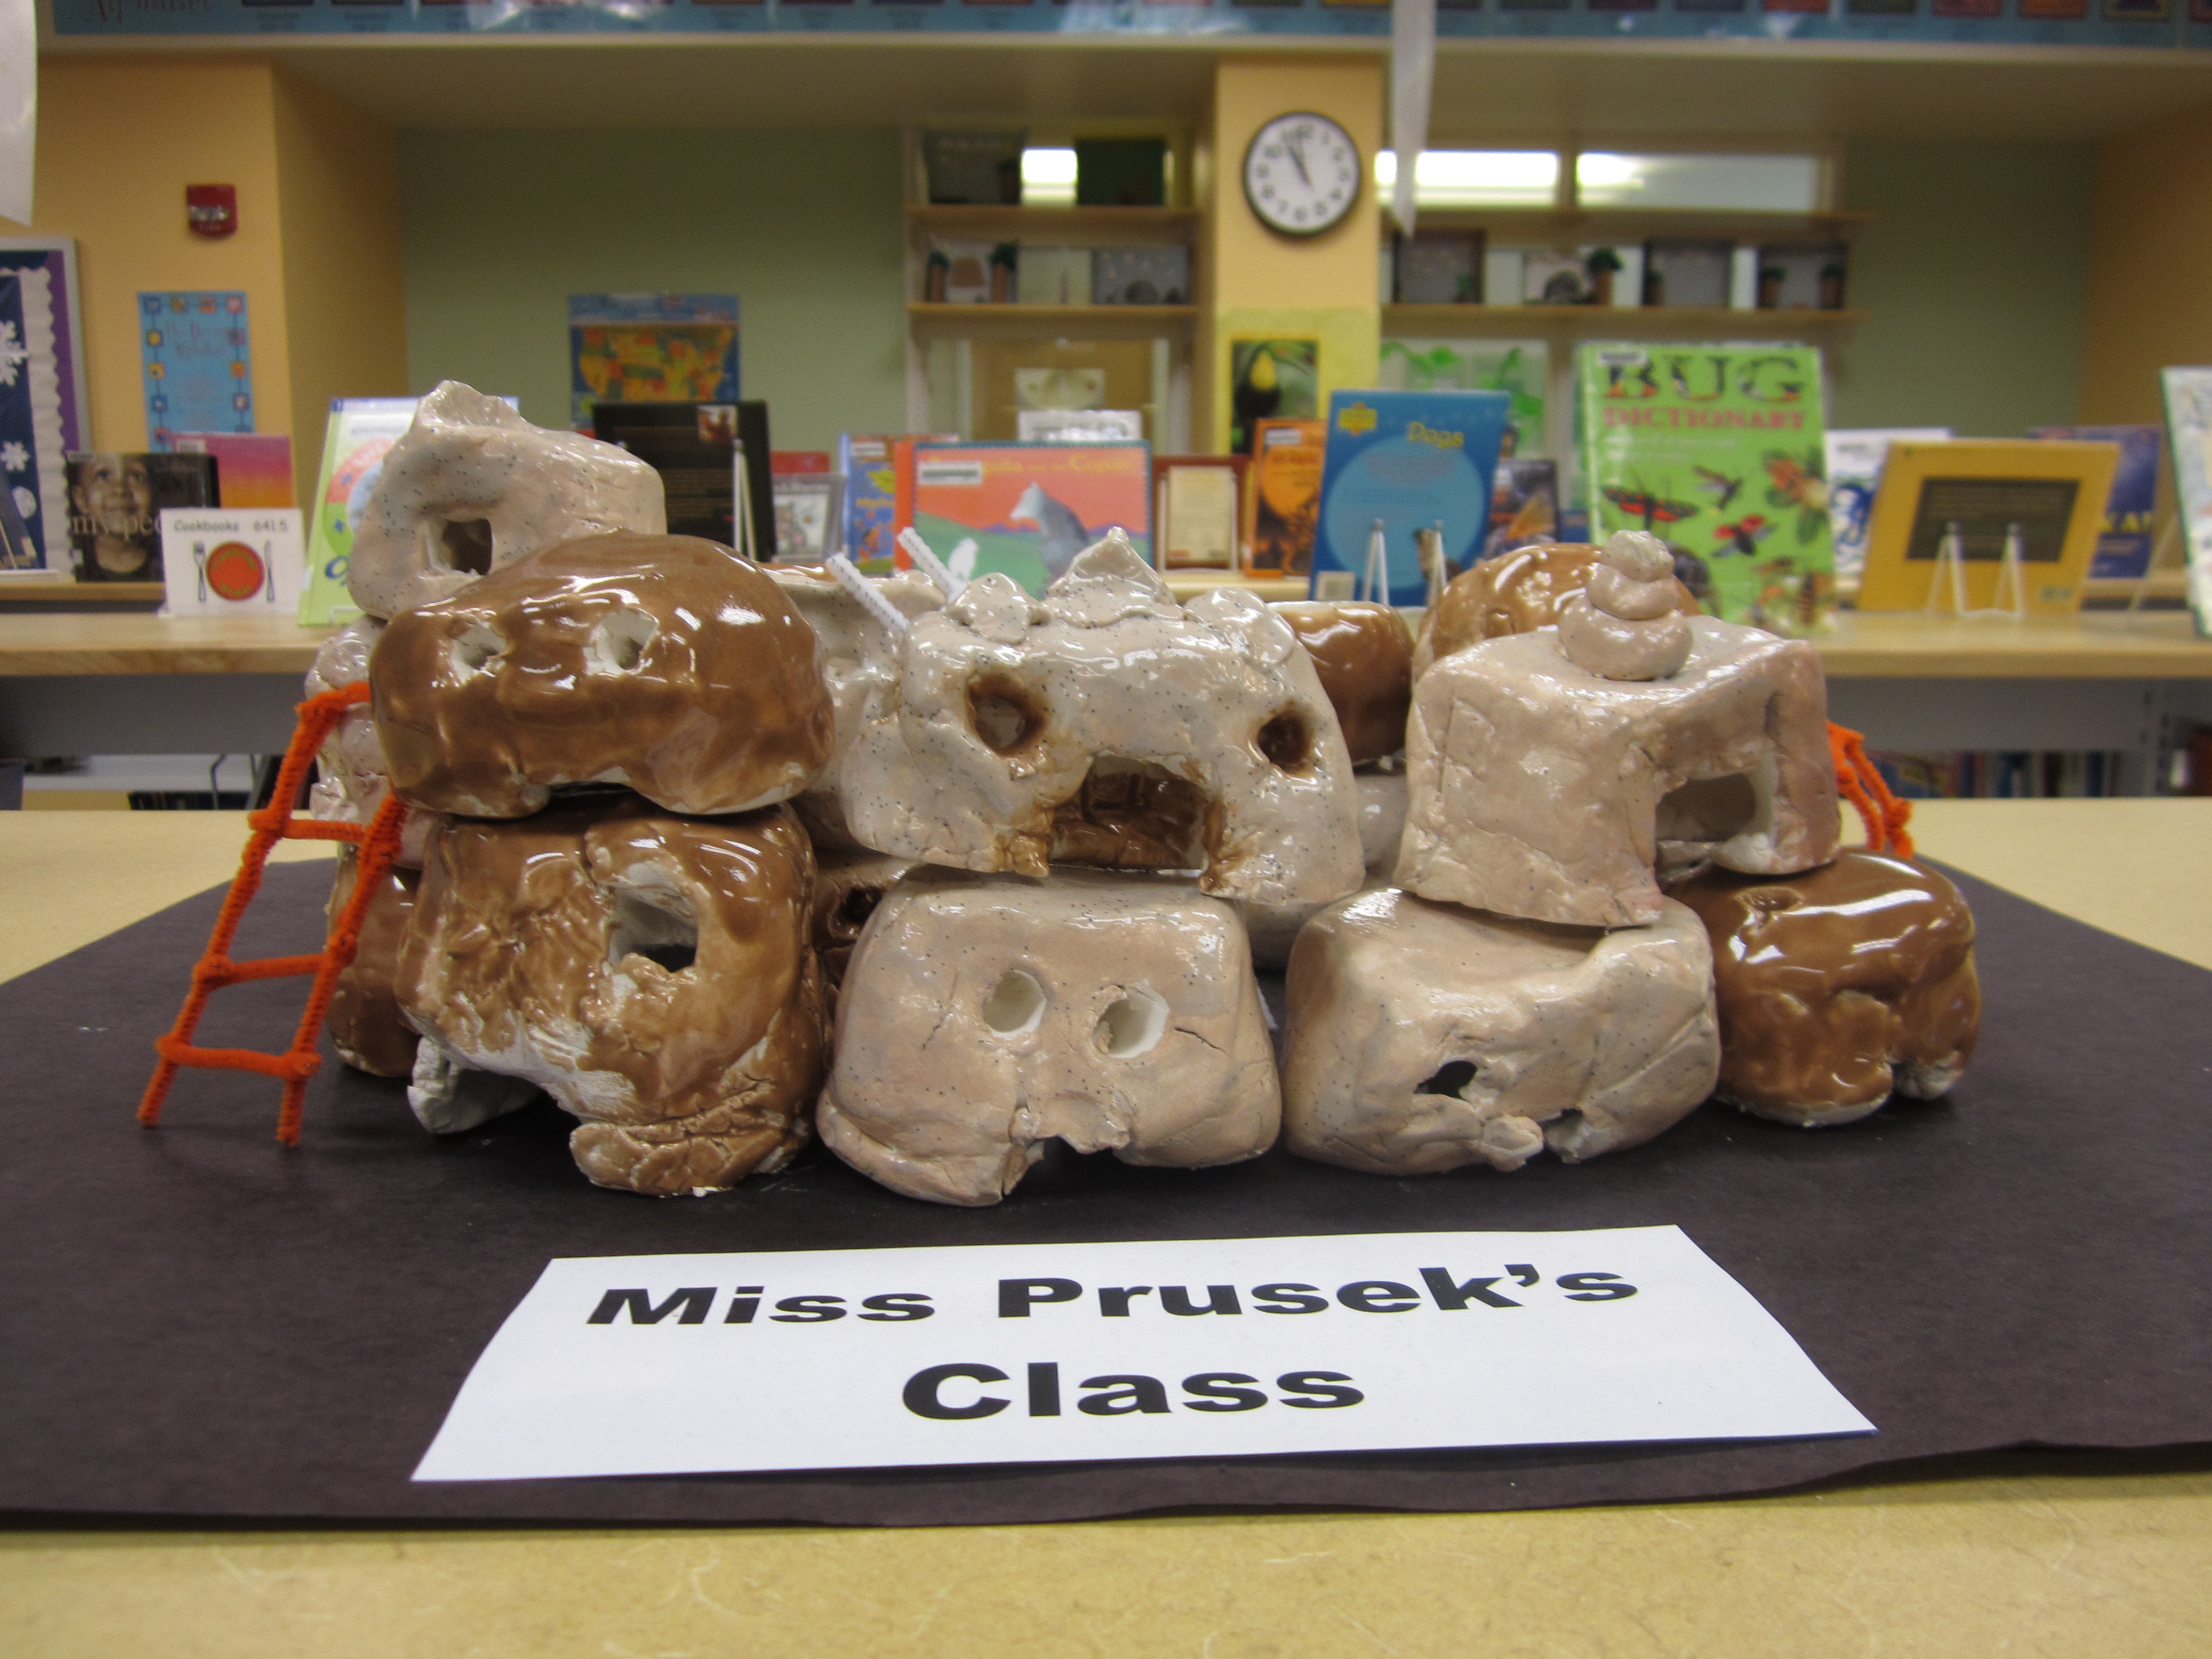
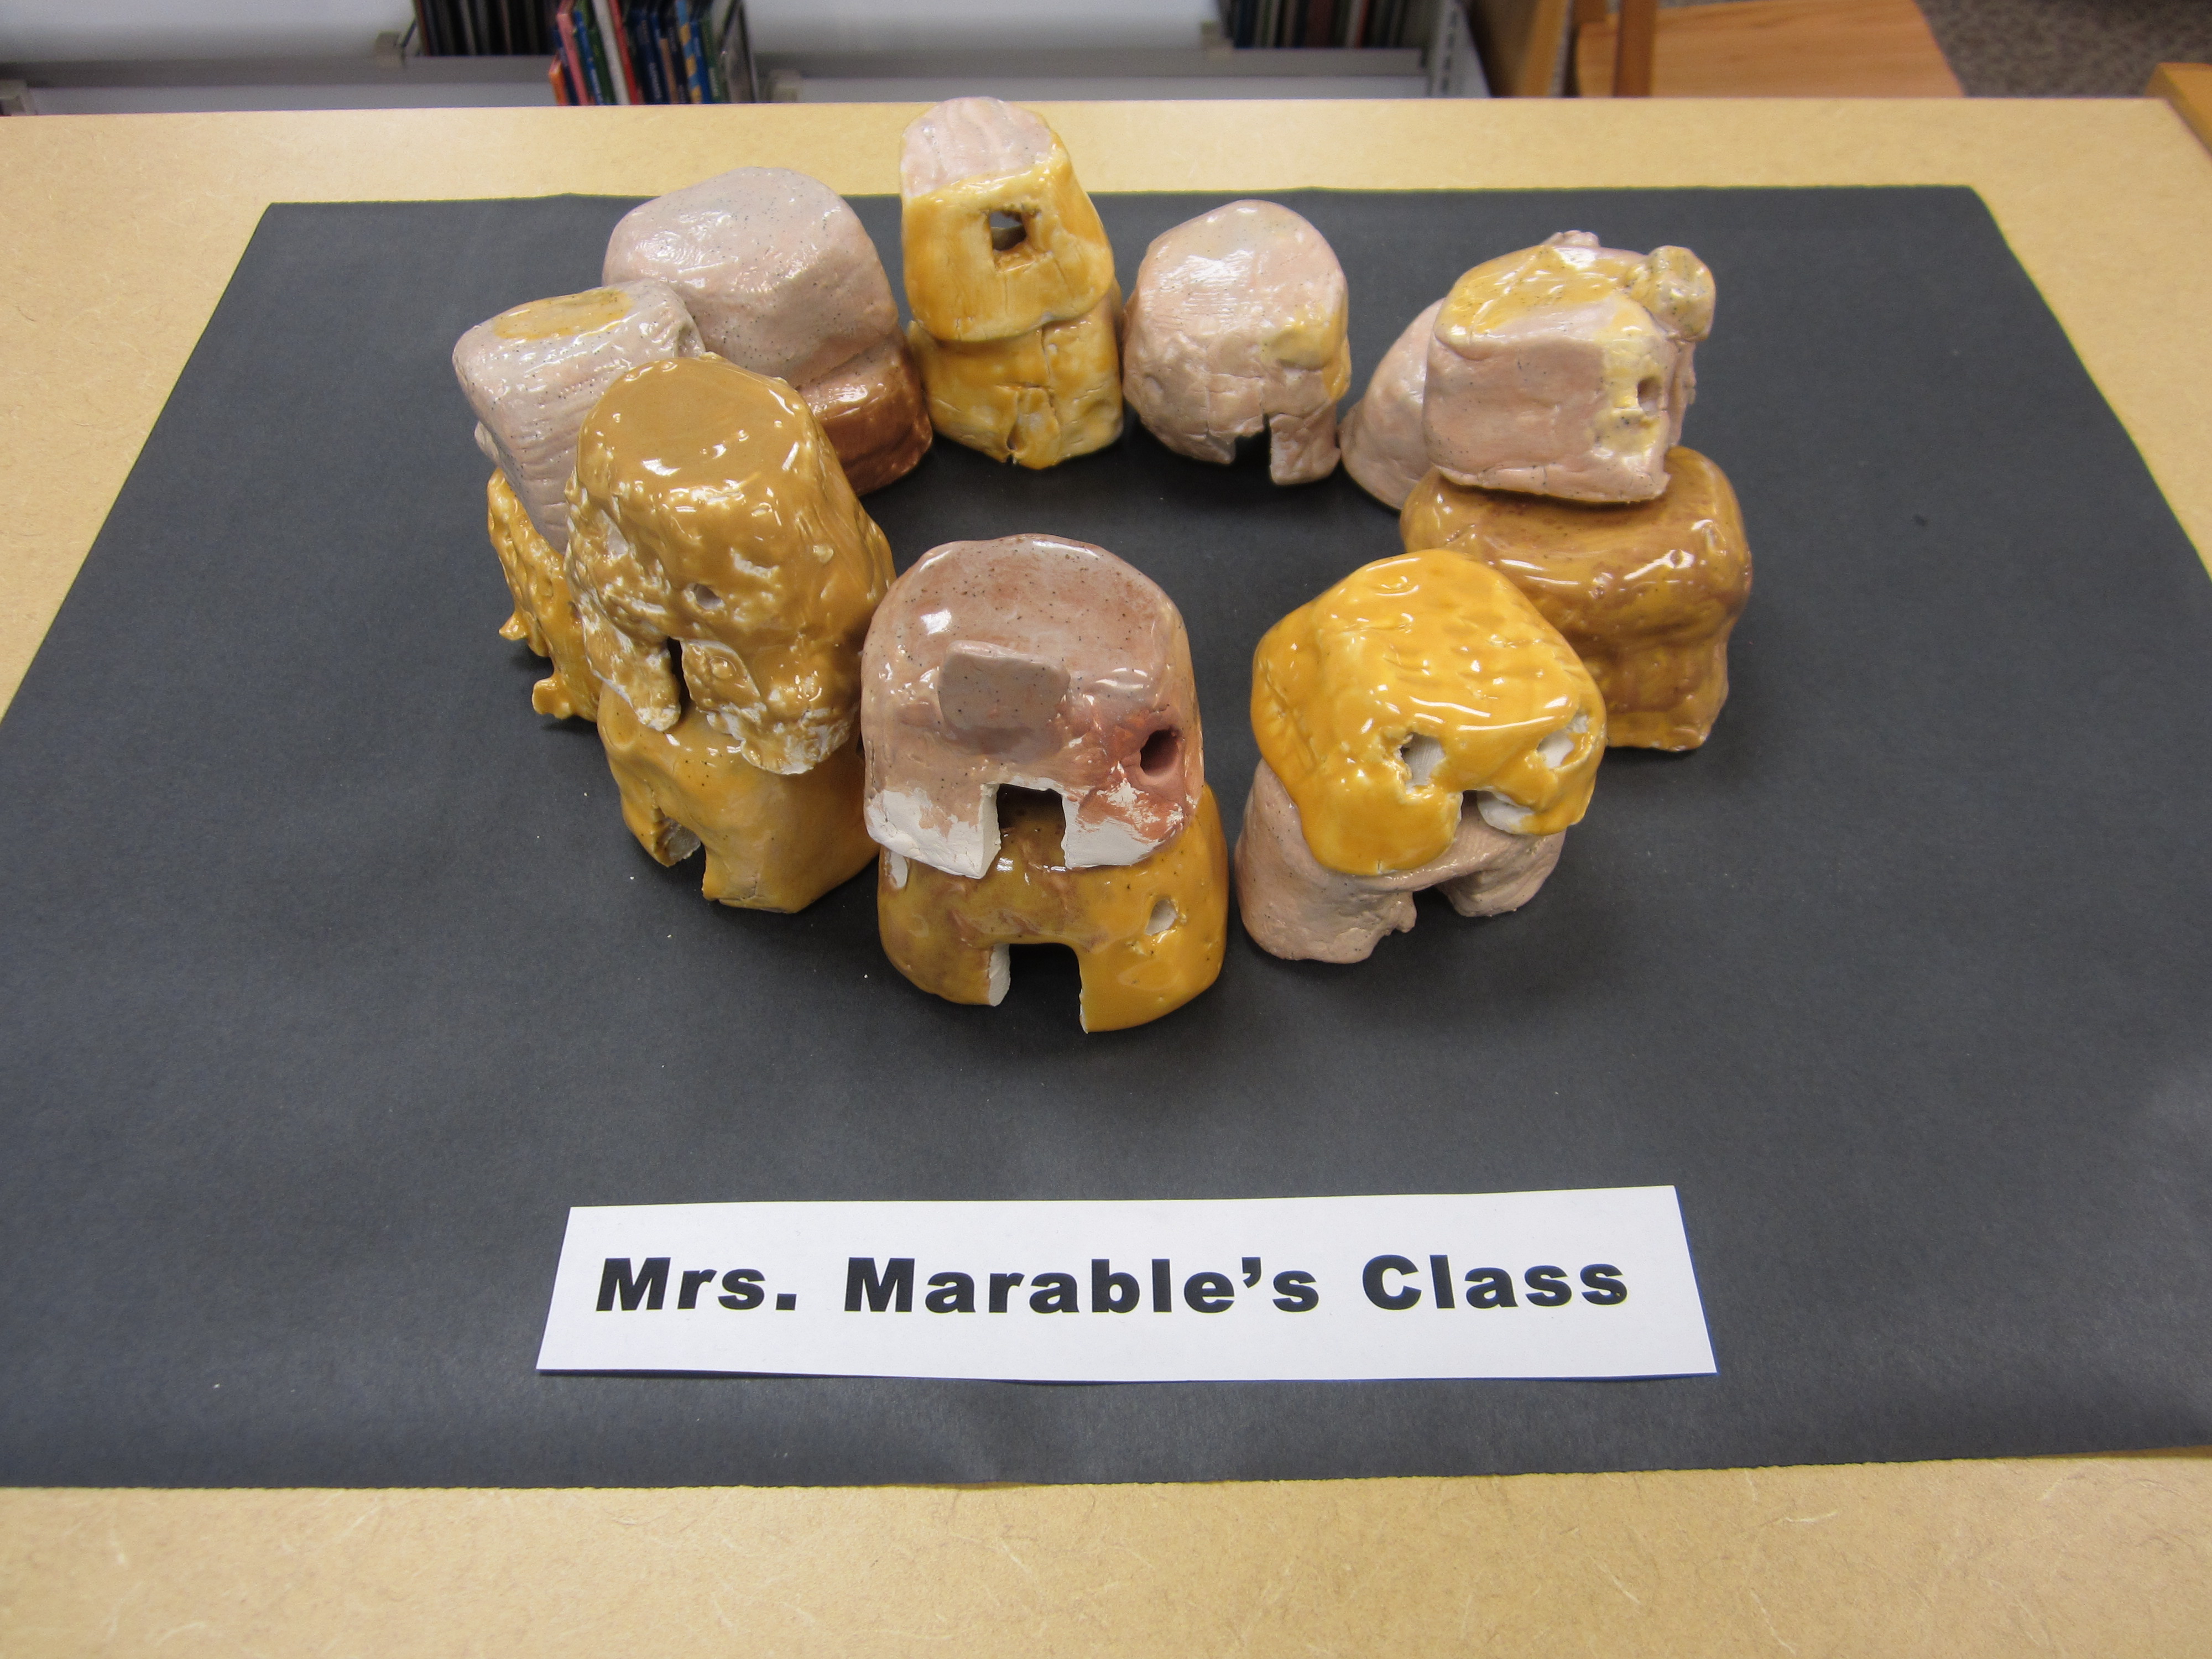
5. assemble pueblos into "town" by stacking and adding some ladders
I am not required to give grades for my elementary students and so I do not always fill out a rubric. I usually do a round of Exit Questions at the end of class when we are lining up as a review. These are my objectives in question form.
My student's love this lesson. They look forward to clay all year long and learning about the American Indians is one of their favorite subjects. It is a short sweet lesson. You can get the clay piece out of the way in one lesson so that there is no storage necessary.
THE STANDARDS
Visual Arts Standard 1: Understanding and applying media, techniques, and processes
[K-4] Students use art materials and tools in a safe and responsible manner
[K-4] Students describe how different materials, techniques, and processes cause different responses
Visual Arts Standard 2: Using knowledge of structures and functions
[K-4] Students use visual structures and functions of art to communicate ideas
Visual Arts Standard 4: Understanding the visual arts in relation to history and cultures
[K-4] Students know that the visual arts have both a history and specific relationships to various cultures
Visual Arts Standard 6: Making connections between visual arts and other disciplines
[K-4] Students identify connections between the visual arts and other disciplines in the curriculum
THE FEATURES
Indigenous American Art
Form
Architecture, Ceramics
Geography, History/Social Studies
You must be logged in to keep, like, or comment on this resource.


Share!
Comment!